
All appointments with Converge customers must be booked into the Phoenix portal before they occur. This is a requirement of your role and ensures accurate and timely management of customer appointments.
In the event that you need to retrospectively add an appointment in the past which has already occurred, you can do so up to 30 days from the appointment date. If you enter appointments that occurred more than 30 days ago, you will not be remunerated for it.
1. Access Phoenix
Access the Converge Phoenix app via login.convergeint.com and make sure you are on the Quick View page in the Phoenix app
2. Find the customer listed
On the Quick View page of the Phoenix app, find the customer.
-
If you’ve recently completed an appointment, the customer will be listed in the “Appointments recently completed” section
-
If you haven’t completed the most recent appointment, the customer’s current appointment may be listed in the “Appointments not started” or “Appointments in progress” section of the portal.
-
If you can’t find the customer, scroll to the “Appointments recently completed section and use the Search function to find them.
3. Select rebook
|
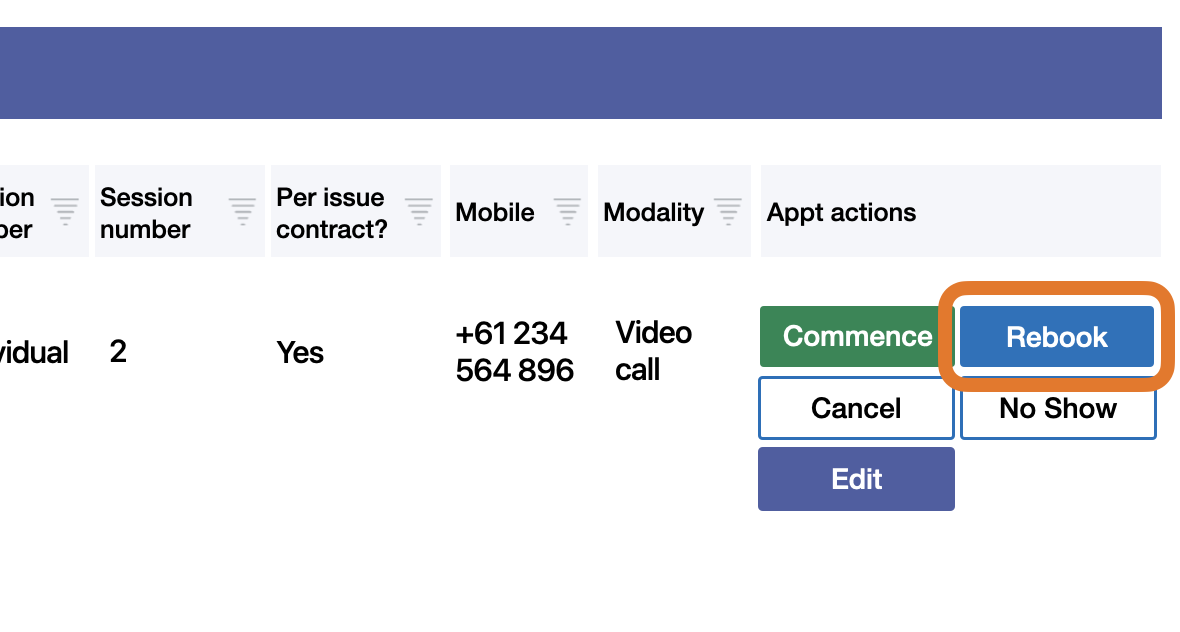
Once you find the customers' last or active appointment listed, click the Rebook button on the right side of the listing. |
|
|
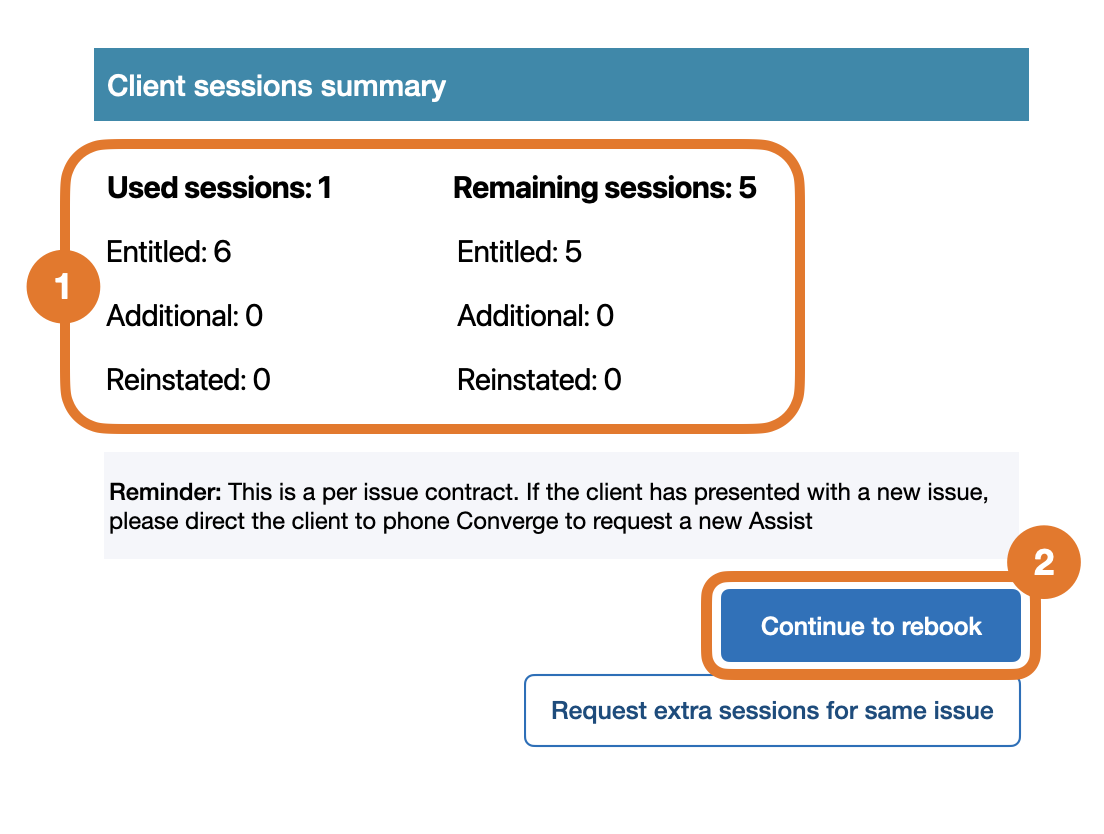
Then, on the pop-up window:
|
|
|
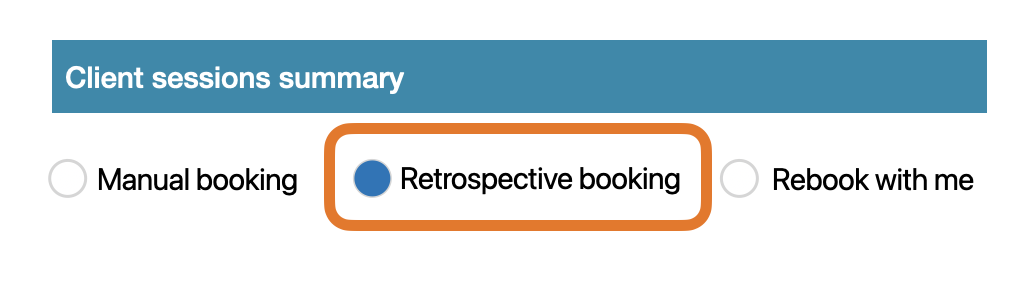
On the next screen, select Retrospective booking option Do not select any other option unless instructed to. |
|
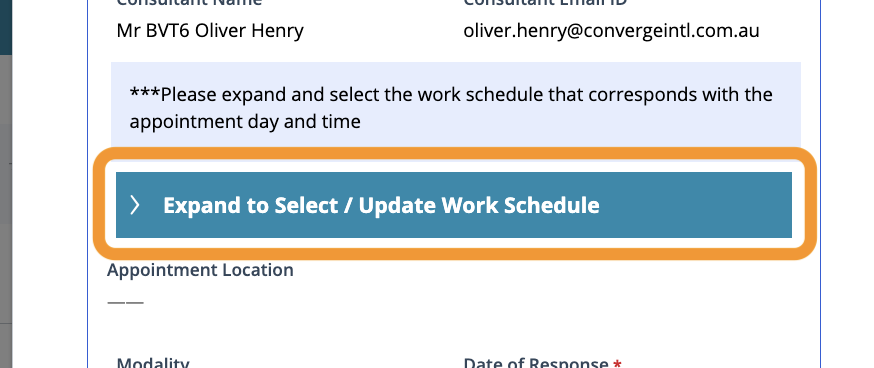
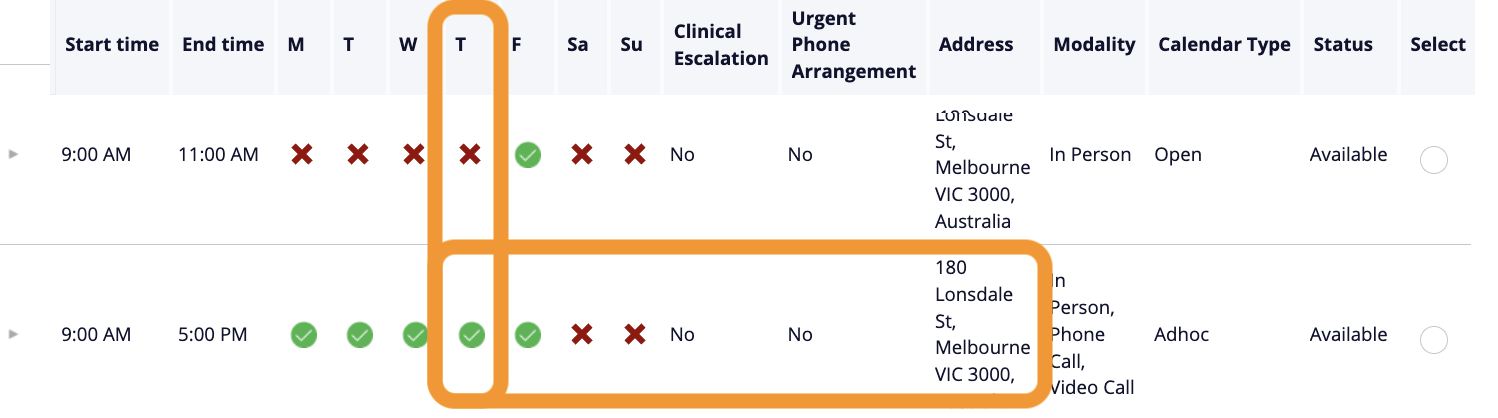
4. Select work schedule
Next, you will be selecting the work schedule to apply the appointment to. This is important as the work schedule is linked to your agreed remuneration rate. Not selecting the correct schedule can result in payment disputes and delays for payment.
|
|
If you are a partner, always select the matching open calendar type schedule. Do not select ad hoc unless instructed to. If you are an associate with both an ad hoc and open telehealth schedule, select the matching open schedule unless the customer was originally booked into your ad hoc schedule. If you are an associate with an ad hoc only schedule, select the matching ad hoc calendar to apply the appointment with. |
|
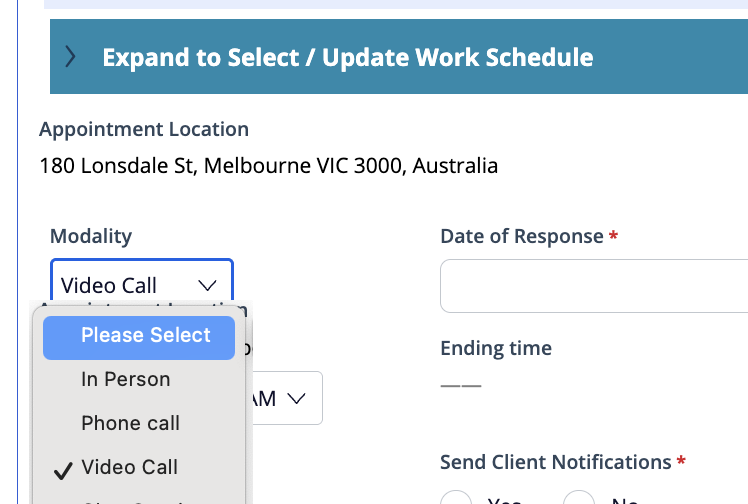
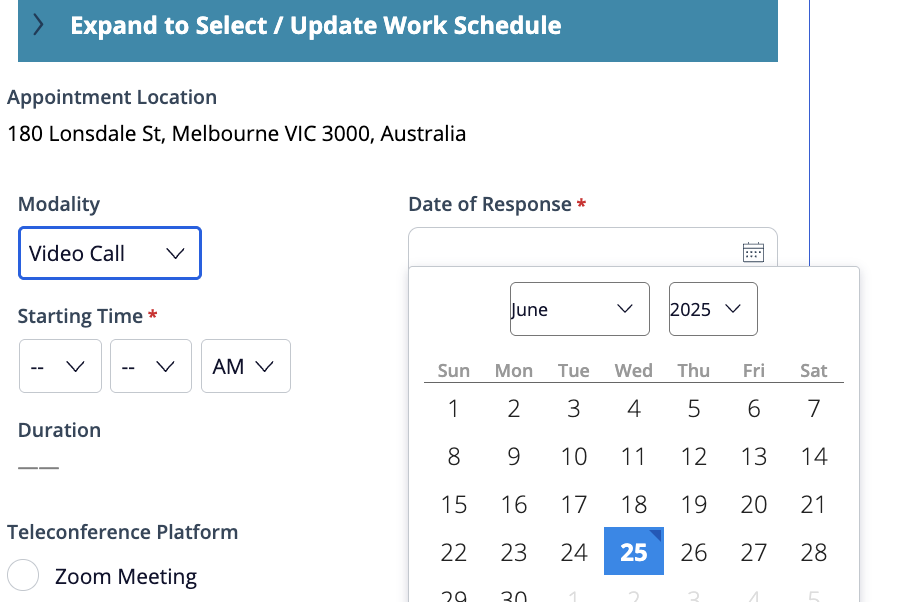
5. Confirm appointment details
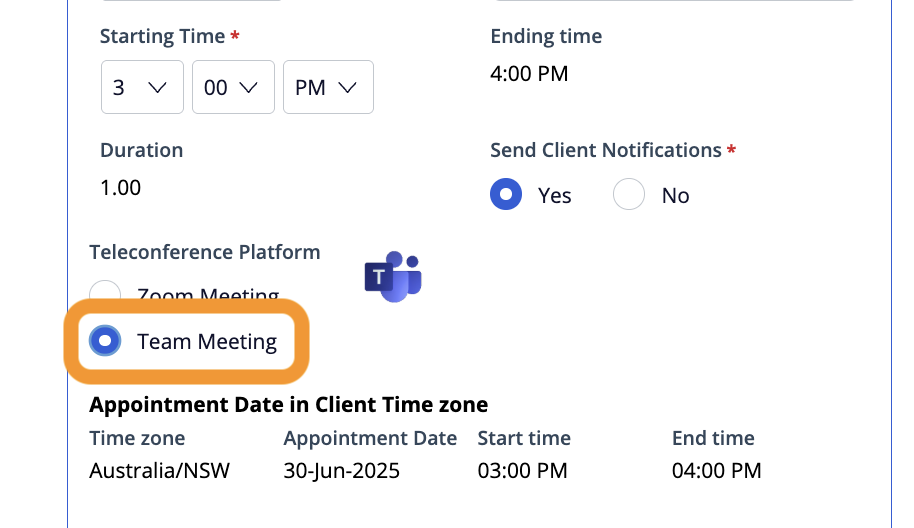
Next, you will confirm the details of the appointment including time, date and modality.
|
|
|
|
Note: The time provided is always in the Customer time zone |

|
|
|
|
If you selected Video Call as the modality of the appointment, select Team meeting for the Teleconference platform option. Do not select Zoom option. Converge only supports Microsoft Teams meetings for video call appointments. Learn more here: Video call modality |
|
|
|
|
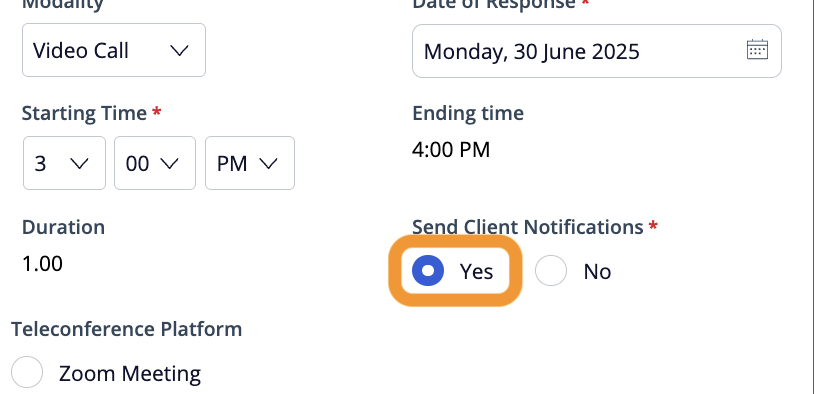
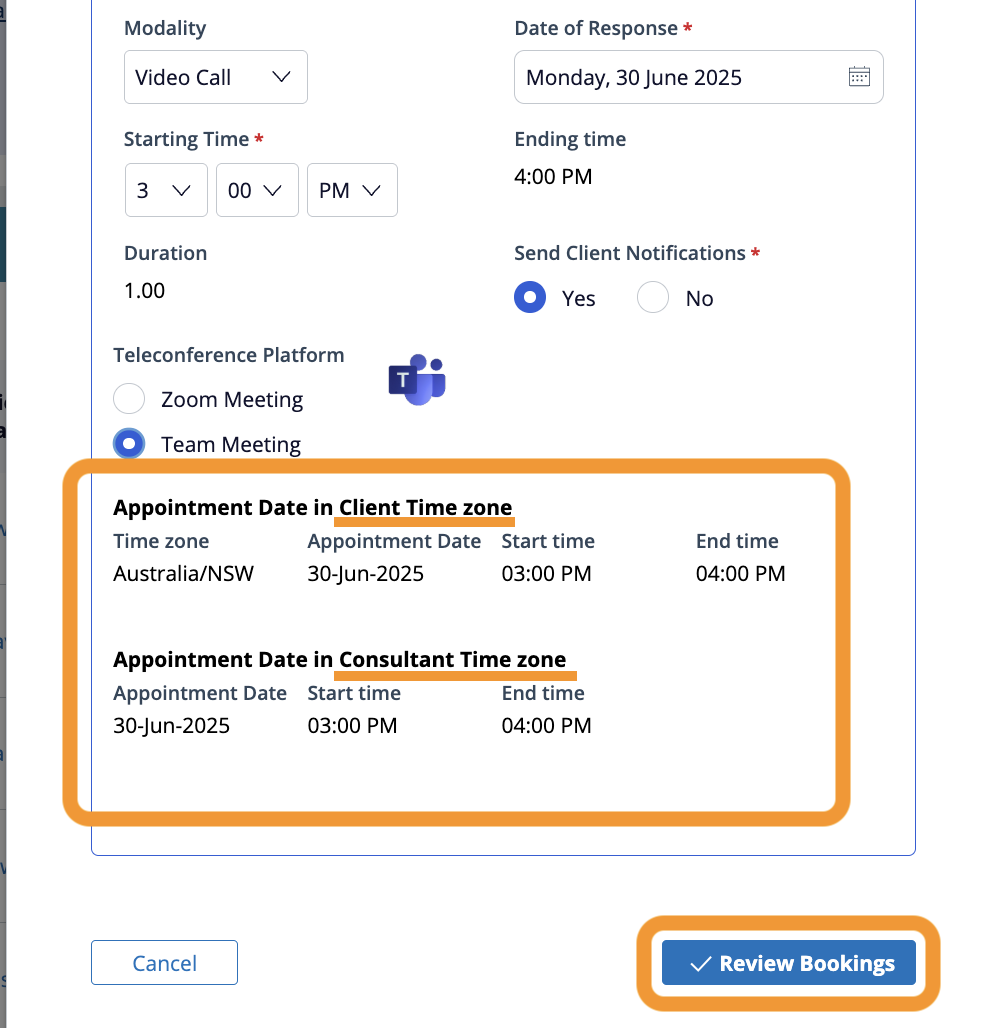
On the next screen, you’ll see the summary of the booking information. Double check all the information is correct
|
|